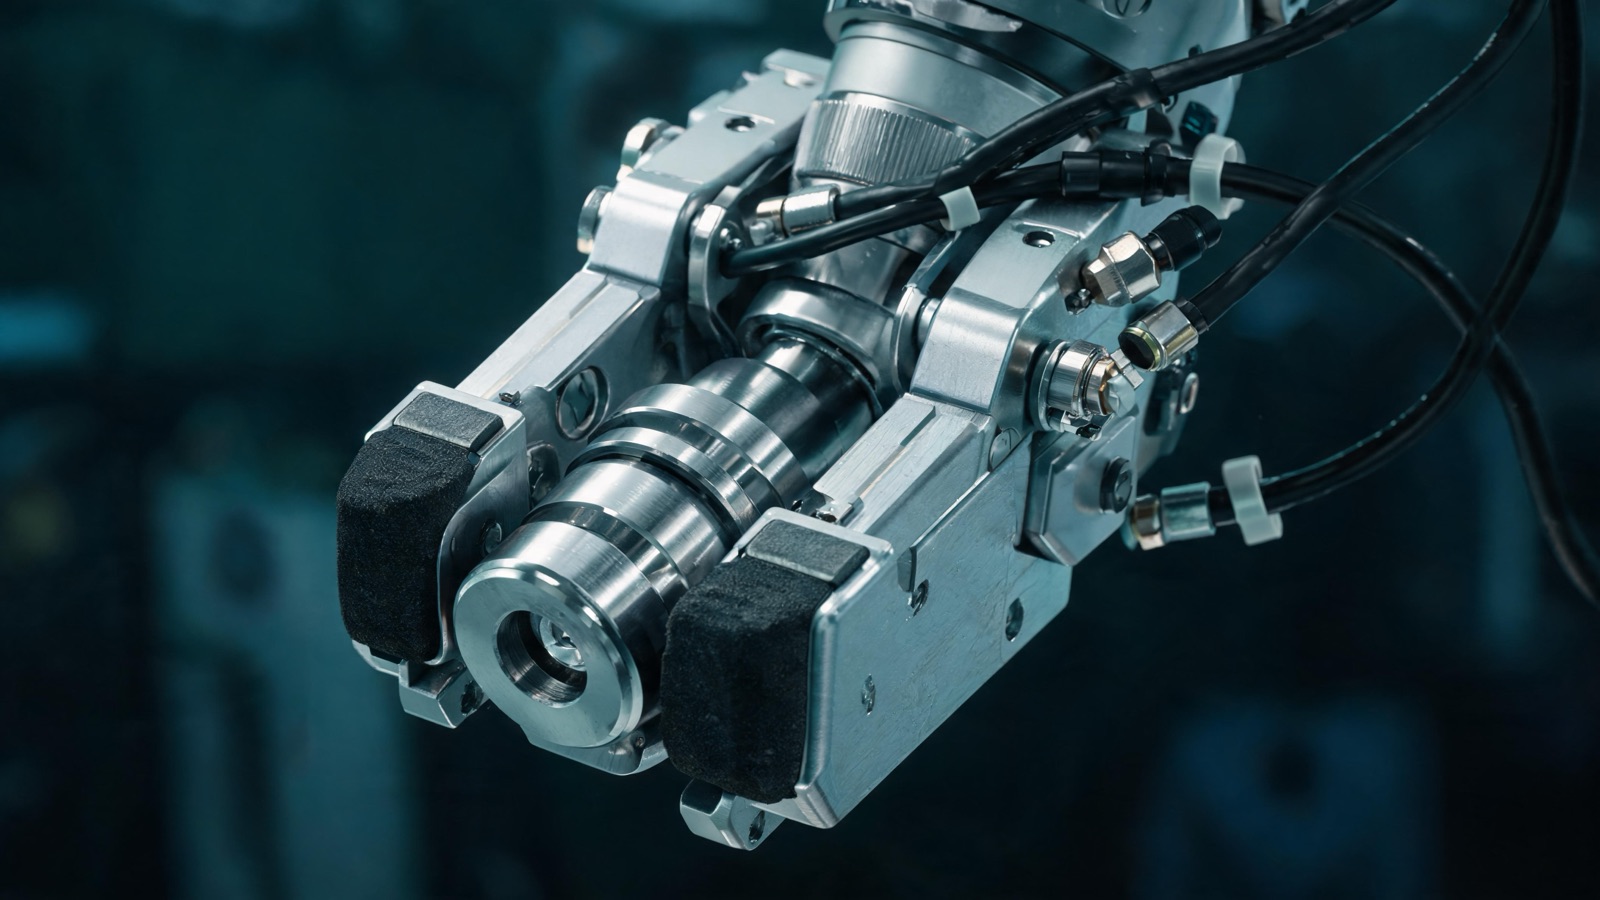
Buy the right robot and you still might end up with a cell that jams twice a shift. The robot is rarely the problem. The end of arm tooling is.
EOAT is the part everyone underestimates. It looks simple: a plate, some fingers, maybe a vacuum cup. But it is the only piece of the cell that actually touches your part. If it drops the part, misaligns it, or marks a finished surface, the robot’s speed and repeatability stop mattering.
Most cell problems trace back to tooling designed for the part on paper, not the part as it actually shows up off your process. This guide covers gripping strategy, sensing, changeover, tooling weight, and what to do when the tool starts giving you trouble.
Why the gripper decides your cycle time
People assume cycle time comes from robot speed. In practice, it comes from how confidently the gripper can move. A gripper that grabs a part off center, or one that needs a slow approach to avoid a collision, forces you to program around its weaknesses. That shows up as added seconds on every single cycle, all day, every day.
A well designed gripper lets you run at the speed the robot is actually capable of. It locates the part the same way every time, so you are not adding dwell time for “just in case” moves. Most unplanned stops in a robotic cell are not robot faults. They are dropped parts, missed picks, or a gripper that could not tell “part present” from “part almost present.”
If you are chasing cycle time or uptime and the robot looks fine on paper, look at the tooling first.
Catalog gripper vs custom EOAT
A catalog gripper is a good starting point for a lot of jobs. Parallel jaw grippers, standard vacuum cups, and off the shelf magnetic pads exist because they solve common problems well. If your part is simple, rigid, and consistent, a catalog gripper can get you running fast and for less money.
The trouble starts when your part does not fit that mold. Thin sheet metal that flexes under vacuum. A casting with draft angles that make a standard jaw slip. A family of parts that needs to run through one cell without a tool change. That is where custom end of arm tooling earns its keep.
Custom gripper design lets you build fingers, cups, or fixtures around the actual geometry of your part instead of forcing your part to behave like the gripper’s ideal case. It also lets you combine functions: locating pins, a pick point, and a light inspection sensor in one tool instead of three station moves.
The honest answer for most plants is a mix. Buy the jaws, cylinders, and vacuum generators off the shelf. Design the fingers, mounting, and part contact custom. That keeps cost down while still solving your actual problem.
Gripping strategies: mechanical, vacuum, magnetic
Every part tells you which strategy it wants, if you look honestly.
Mechanical grippers use jaws, fingers, or clamps to physically hold the part. They work well on rigid parts with clear grab features and hold on through orientation changes and higher speed moves. The tradeoff is they need a defined surface to grip, and they can mark soft or finished materials without careful finger design.
Vacuum tooling uses suction cups to lift flat or gently curved parts. It is fast to deploy and gentle on finished surfaces, which is why you see it constantly in sheet metal and packaging work. It struggles with porous materials, parts with holes in the wrong place, and anything that flexes enough to break the seal mid cycle.
Magnetic tooling grabs ferrous parts without needing a clean surface to grip or seal against. It is efficient for stacked or slightly rough parts, but it only works on the right materials, and the part has to release cleanly without sticking or shifting during placement.
Most working cells end up combining strategies rather than picking one. A vacuum cup for the pick, a mechanical locating feature for the place, is a common pairing.
Sensing and verification on the tool
A gripper that cannot confirm what it is holding is a gripper you have to babysit. Sensing is what turns “we think it grabbed the part” into “we know it grabbed the part, oriented correctly, before the arm moves.”
Grip confirm tells you the jaws or fingers actually closed to the expected position, not just that the cylinder fired. This matters most on parts with size variation, where a jaw closing too far usually means no part is there. Add it anywhere a missed pick would send the arm into the next station empty handed.
Part-present sensing, usually a simple photoeye or proximity switch on the tool, checks that something is actually seated before the robot commits to the next move. It earns its keep on any process fed from a bin, a conveyor, or anywhere part position is not tightly controlled going in.
Vacuum switches monitor whether a cup has pulled a real seal, not just whether the generator is running. On vacuum tooling this is close to mandatory. A cup that looks seated but never sealed is a common cause of a part dropping mid transfer, and a vacuum switch catches it before the arm leaves the pick point instead of after.
You do not need every sensor on every tool. A simple, high volume part on a stable process might run fine on grip confirm alone. A fragile part, or one moving through an unattended cell, usually justifies the fuller stack. Size the sensing to what a miss actually costs you.
Part presentation and compliance
Tooling design does not stop at “how do I hold this.” It has to answer “how does this part show up in the first place.”
If your part comes off a conveyor at a slightly different angle every time, or out of a bin in no particular order, the gripper needs some tolerance built in. That is where compliance comes in: spring loaded fingers, floating mounts, or a bit of give in the tool that lets it self correct instead of forcing a hard fault when the part is a few millimeters off.
Rigid tooling on a variable process is a common mistake. It looks precise on the drawing and jams constantly on the floor because it has zero forgiveness for real world variation. A small amount of built in compliance often solves more problems than a tighter tolerance spec ever will, the same logic behind good fixture design: control the variation that matters and build in give for the rest.
How tooling weight steals speed
Every extra pound on the end of the arm works against you twice. It slows acceleration and deceleration, because payload rating and usable speed are not the same number once you load up the wrist. And it adds inertia the robot has to fight through on every direction change, which shows up as either a slower program or a tool that shakes at the end of a fast move.
Plants tend to overbuild tooling without noticing. A gripper gets a sensor added, then a locating feature, then a heavier mounting plate to carry the added weight, and six months later the tool weighs twice what the original design called for. Nobody decided to slow the cell down. It happened one addition at a time.
Lightweight hybrid builds, aluminum or composite structure with steel only where wear or strength actually demands it, change what is possible here. Cutting tool weight gives back speed headroom without touching the robot or the program, and it reduces load on every bearing and cylinder in the tool, which usually means less maintenance too. If your cell runs slower than the robot’s spec sheet suggests it should, weigh the tool before hunting for the problem elsewhere.
Designing for changeover between part families
If your cell runs more than one part family, changeover speed is part of the tooling design, not an afterthought.
Quick-change plates are the first piece: a standardized mounting interface between the robot wrist and the tool, so you can pull one gripper off and put another on in minutes instead of hours. Without one, every tool swap means realigning, reprogramming offsets, and losing production time. With one, you build a small library of tools and switch between them without touching the robot’s base program.
Family tooling solves a different problem. Instead of swapping tools between parts, you design one tool that handles a range of parts using adjustable or interchangeable contact points. A single gripper body with swappable finger sets, sized per variant, can cover a whole product line without a full tool change. This works best when the family shares a common locating strategy and differs mainly in size, the same thinking behind good jigs and fixtures built to serve a part family instead of one part number.
Even in single-part cells, a quick-change plate makes sense: a fast path to swap in a repaired or upgraded gripper without pulling the whole cell down.
EOAT troubleshooting guide
Most tooling problems fall into a handful of repeat offenders.
Drops mid-transfer
This is almost always a grip or seal problem that only shows up under motion, not at the pick point. On mechanical grippers, check jaw force against the part’s weight plus the acceleration load during the fastest move, not just the static weight. On vacuum tooling, check the seal against surface finish and porosity. A part that seals fine on a clean sample but drops on production parts usually means the real parts carry more surface variation than the sample did.
Mis-picks at speed
If the tool grabs cleanly at a slow test speed but misses or grabs off center at production speed, it is likely arriving before the part has fully settled, or the approach path leaves no room for normal position variation. Slowing just the last few inches of approach, rather than the whole move, often recovers most of the speed while fixing the miss.
Part marking
Marking usually comes from finger material, finger geometry, or grip force, in that order. Hard jaw surfaces on soft or finished parts leave marks even at correct force. Softer pads or more contact area spread the same holding force over more surface, which usually solves it without giving up grip strength.
Slow grip confirm
If the gripper works but the sensor is slow to confirm, check sensor type and mounting position before assuming the tool needs a redesign. A sensor that waits for a slow mechanical settle, rather than one placed to read the final position directly, adds dead time to every cycle even when nothing is actually wrong.
Iterating tooling on real parts
The biggest mistake in EOAT design is treating the first version as the final version. A gripper designed entirely from a CAD model will almost always need adjustment once it meets real parts, with real variation, coming off a real process.
Plan for at least one round of iteration. Run the tool on actual production parts, not a sample batch of perfect ones, and watch what happens at the edge of your tolerance range. Small changes, a finger radius, a vacuum cup durometer, a sensor position, often fix problems that look like they need a bigger redesign.
A short checklist before calling the tooling done:
- Test on parts pulled from real production, including ones near the edge of spec
- Confirm the grip holds through the full range of robot speed and orientation changes
- Check for marking or damage on finished or cosmetic surfaces
- Verify the tool releases cleanly and consistently at the place point
- Confirm sensors or switches reliably detect part presence and correct orientation
- Run the tool through a full shift equivalent of cycles before calling it production ready
Common questions
How much does custom EOAT cost compared to a catalog gripper? It depends on complexity, but expect custom tooling to cost more upfront than an off the shelf jaw or cup. The payback usually comes from fewer jams, less scrap from marking or mis-picks, and faster cycle times once the tool is tuned to your part instead of a generic one.
Can I retrofit sensing onto an existing gripper? Often yes. Grip confirm switches, part-present sensors, and vacuum switches can usually be added if there is room on the tool body and the control system has spare inputs. It is one of the higher value, lower cost upgrades available to an underperforming cell.
How do I know if my tool is too heavy? Compare your actual cycle time against the robot’s rated speed for a similar payload and reach. If you run noticeably slower than spec, or the arm shakes at the end of fast moves, weight is a likely culprit worth checking before you look elsewhere.
When does a cell need family tooling instead of a simple tool swap? If you change parts more than a few times a shift, the time lost to manual swaps adds up fast, and family tooling or a quick-change system usually pays for itself quickly. For occasional changeovers, a well designed quick-change plate alone is often enough.
The takeaway
Your robot is only as good as what is on the end of its arm. Cycle time, uptime, and part quality all trace back to gripper design more often than people expect. Start catalog where the part allows it, go custom where it demands it, add sensing where a miss actually costs you something, and plan for a round of real world iteration before calling the tooling finished. Darioo Industrial builds custom EOAT as part of full robotic cell integration, but the process above applies no matter who designs your tooling.